

Today, I'm excited to share with you the first part of my sideboard transformation, a find I was lucky to come across this past weekend.
In case you thought I was kidding about the price yesterday, the neon tag doesn't lie: $20!

Before this, I hadn't done significant prep for painting furniture. I deferred to the intelligence in the blogosphere and found great step-by-step instructions from Jenny of Little Green Notebook, specifically her prep work for Joanna Goddard's living room. For a similarly beat-up piece, Jenny patched damage to a table's veneer with wood filler, and later sanded the patches for an even, ready-to-be-painted surface.
With my sideboard, there was some need for wood filler (I used Elmer's), especially around the old knobs, which had left an indelible ring that would show if I simply covered it with paint.
So, I filled and I waited.

I allowed the wood filler about 24 hours to dry, then came back with my little Ryobi sander to smooth it all out. Given the condition, sanding took down some of the rougher, chipped paint and that was alright with me.
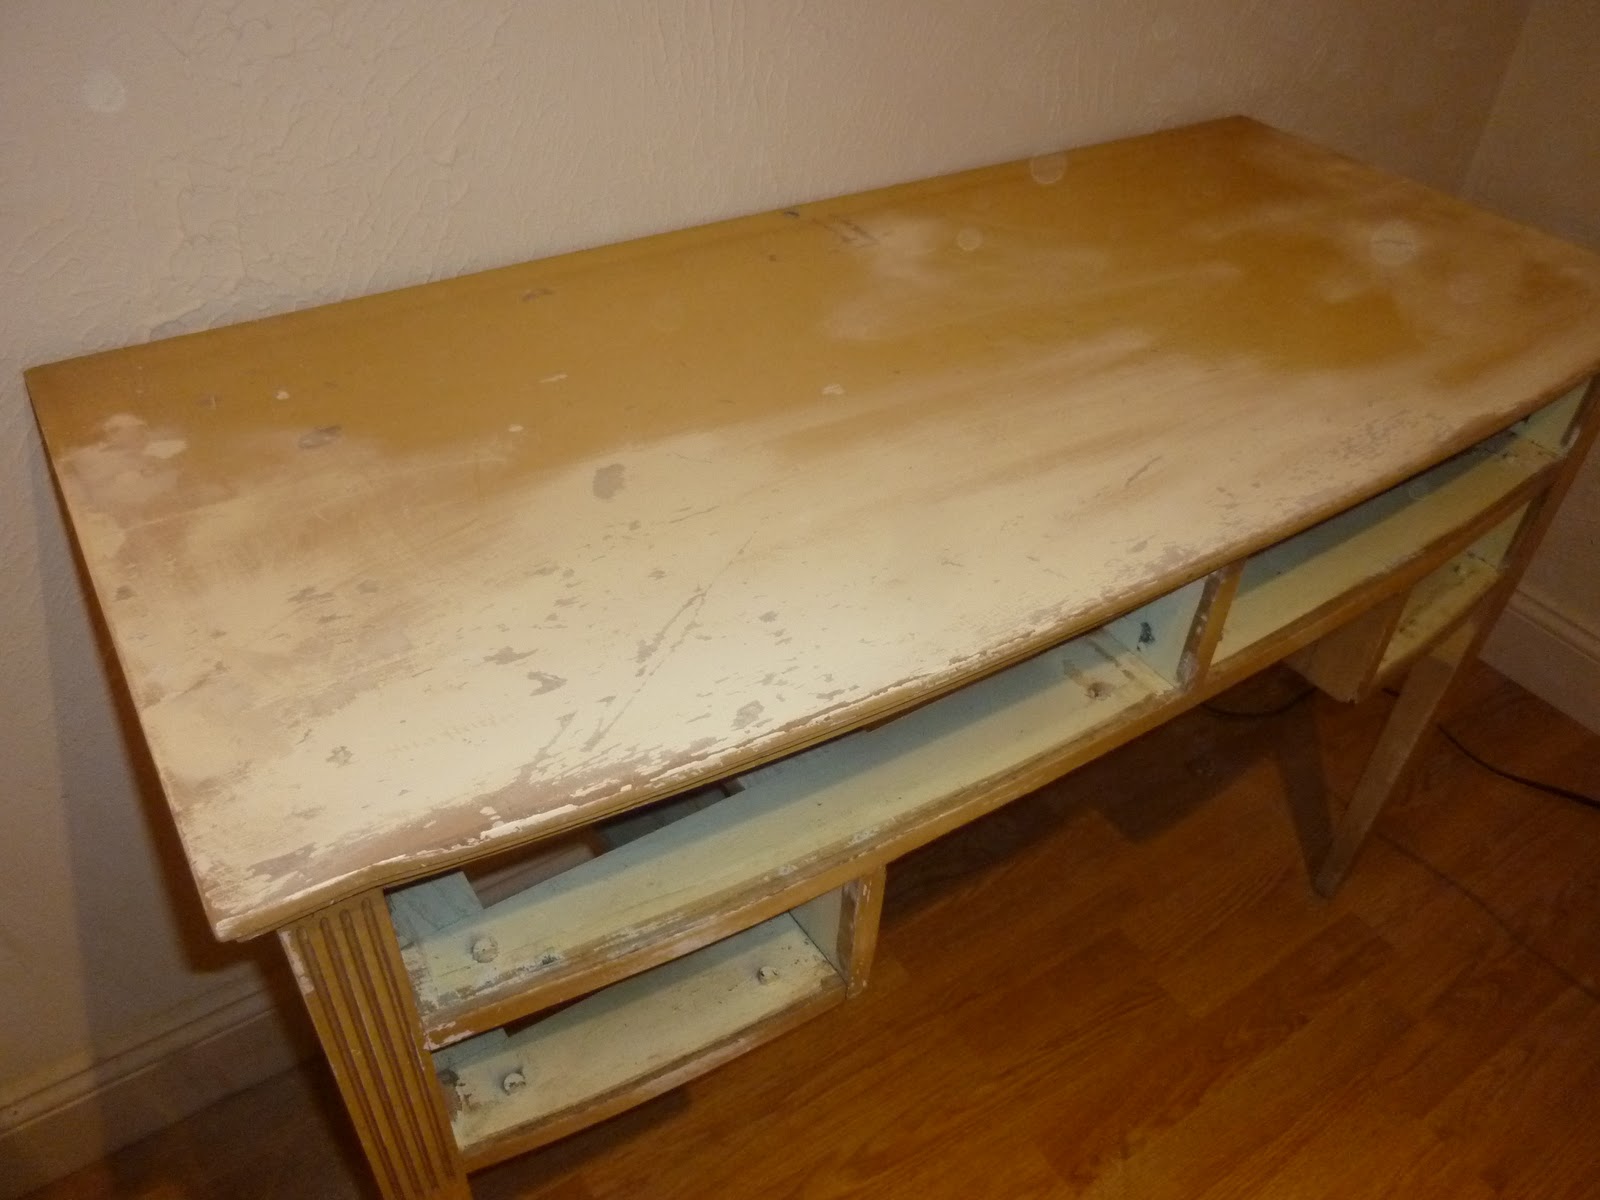
The final step for part 1 of this transformation: a fresh base of Kilz primer to set the foundation for a fun color that I'm so excited to cover this sideboard in.

What's still to come: vibrant paint and fresh new knobs.
Come back tomorrow to see the end results of my latest thrifty project!


How fun, Ashley!! I'm so excited for you!!!
ReplyDeleteCan't wait!
ReplyDeleteDeary me, can't wait for this one. I actually think this is quite a score, I want one!
ReplyDeleteSo fun! I'm coming back tomorrow for sure :)
ReplyDeleteSuch a tease! I love before and afters so you definitely got my attention!!
ReplyDeleteBtw y'all have good thrift stores the prices blow my mind!
Can't believe you passed up that chair, gurl!!!!!!